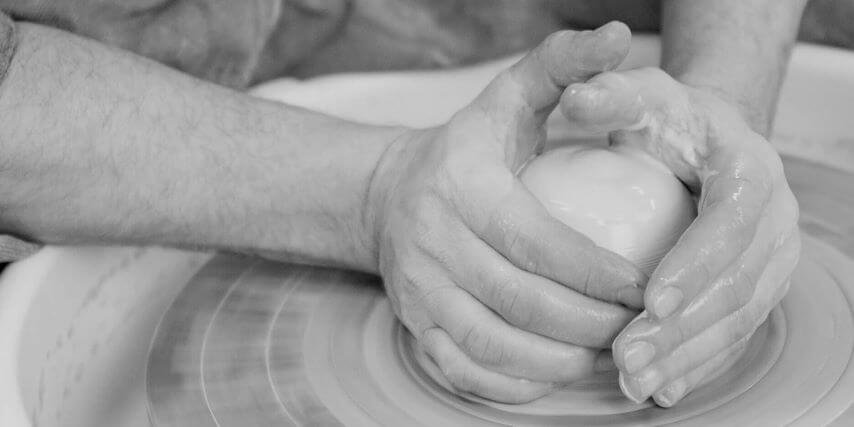
Mastering Centering: How to Center Clay on a Pottery Wheel

Pottery, a captivating art form for thousands of years, hinges on mastering one fundamental skill: centering clay on the pottery wheel. This guide delves into how to center clay effectively, ensuring your creations are both symmetrical and captivating.
The Purpose of Centering
Centering clay on the wheel, or the "center of the wheel," is crucial for even mass distribution. This balance is essential in shaping and molding the clay into your envisioned form, ensuring your pottery is both functional and aesthetically pleasing.
Tools of the Trade
Bat or Wheel Head
A flat surface, such as a bat or wheel head, is vital for centering clay. These tools provide a stable base for your clay, facilitating easier shaping and manipulation.
Water and Sponge
Maintaining the moisture of both your hands and the clay is essential for preventing sticking and facilitating smooth movement during the centering process.
The Centering Technique
Centering clay may initially seem daunting, but with patience and practice, you'll find joy in crafting beautifully centered pottery pieces.
Wedging
Before placing your clay on the wheel, ensure it's wedged. This process helps in eliminating air bubbles and achieves a consistent texture, crucial for successful centering.
Preparing Your Wheel
Ensure your bat or wheel head is perfectly centered on the wheel. This step is vital for a stable starting point when you place your clay.
Positioning the Clay
For beginners, a 1.5 to 2-pound section of wedged clay is ideal. Shape it into a cone with a flattened bottom before centering it on the wheel.
The Three Movements
- Compression: Firmly press down the clay, ensuring it's positioned in the wheel's center.
- Coning Up: Gently lift the clay into a taller cone shape, maintaining pressure.
- Coning Down: Push the clay down while applying inward pressure to stabilize its shape.
- Repeat: Repeat these steps until the clay is perfectly centered and rotates smoothly.
Troubleshooting Common Centering Issues
Wobbling Clay: If the clay wobbles, it's not centered. Pause, reposition, and try the movements again.
Clay Sticking to Hands: Moist hands are essential. If the clay sticks, slightly wet your hands.
Cracking Clay: Cracking indicates dryness. Lightly moisten the clay and continue centering.
Practice Makes Perfect
Regular practice is key to mastering clay centering. Observing experienced potters and experimenting with various clay types can significantly enhance your skills.
Beyond Centering: Creating Your Masterpiece
Once you've mastered centering, the creative possibilities are endless. From throwing pots to exploring various decorating techniques, the centered clay on the wheel becomes your canvas for creating unique pottery pieces. For those interested in "pottery without a wheel or kiln," alternative methods like hand-building techniques are also worth exploring.
Conclusion
Centering clay on a pottery wheel is a skill that lies at the heart of pottery. With the right approach, tools, and dedication, you can excel in this art, bringing your pottery visions to life. Learn the "6 steps of wheel throwing" and embark on your journey of "creating pottery," where "clay on the wheel" transforms into artistic expressions.
*Limitations of this article: While reading this article, it's important to recognize that it serves as an introductory glimpse into the subject matter, not an all-inclusive guide. Embrace this article as a starting point for your journey, knowing that further research is essential for a comprehensive grasp of the subject beyond its introductory boundaries. Happy Potting!